
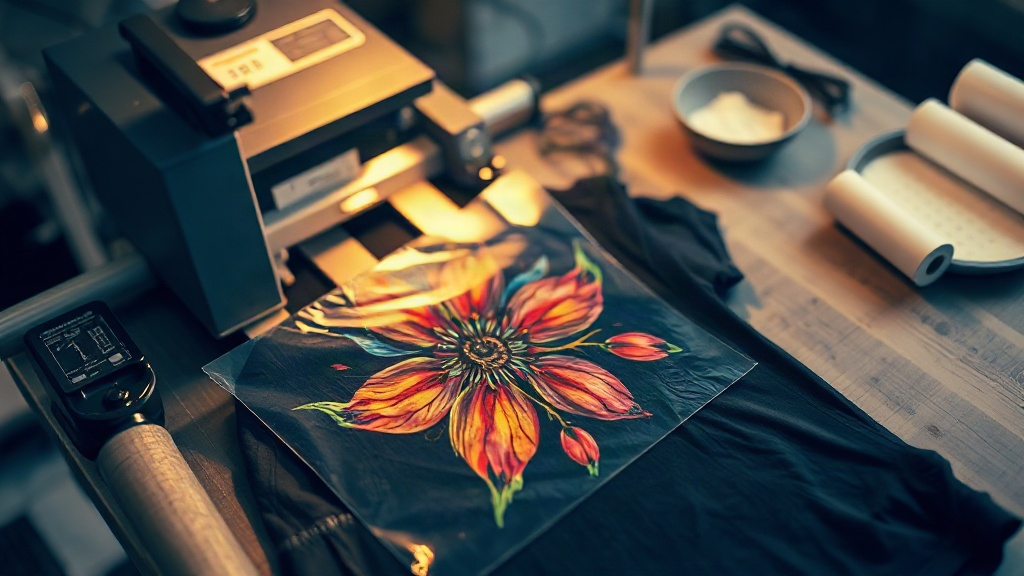
Walk into any print shop that handles small-batch custom apparel and you will likely see a roll of film going into a printer instead of a squeegee being pulled across a screen. DTF transfers have quietly become the default answer for shops that need photographic detail, unlimited colors, and short runs without setup fees. But the technology is not magic, and the gap between a print that survives fifty washes and one that cracks in a week usually comes down to a handful of small decisions most guides gloss over.
This guide is written from the perspective of someone who has peeled a lot of cold film off a lot of shirts. We will cover what a DTF transfer actually is, where it beats the alternatives, how to press it correctly, and the specific failure points that catch people off guard.
What a DTF Transfer Actually Is
DTF stands for direct to film. A digital printer lays down a mirror-image design onto a special PET film using water-based pigment inks. While the ink is still wet, a powdered hot-melt adhesive is sprinkled across the printed area. The sheet then passes through a curing unit that melts the powder into a flexible glue layer bonded to the ink.
The result is a transfer sheet you can store, ship, or press days or months later. When you apply heat and pressure, the adhesive layer melts into the fabric fibers while the ink sits on top as a thin, stretchy film. There is no weeding, no color separation, and no minimum order. That combination is why DTF transfers have taken over so much of the custom apparel market.
Why the Adhesive Layer Matters More Than the Ink
Most beginners obsess over ink quality and ignore the powder. That is backwards. The adhesive determines whether the print stays on the shirt. A poor or uneven powder application shows up later as edges lifting, corners curling, or the entire design peeling off in one piece after a few washes. If you are buying transfers from a supplier, ask how they apply and cure their powder. If you are producing your own, invest in a shaker that distributes evenly and a curing oven that hits consistent temperature across the whole sheet.
Where DTF Transfers Beat the Alternatives
Every decoration method has a sweet spot. DTF occupies a space that used to be awkward for everyone.
- Photographic detail and gradients: Screen printing struggles with smooth fades. DTF handles full-color photographs, watercolor effects, and fine gradients without halftone dots.
- Short runs and one-offs: There is no screen setup, so a single shirt costs roughly the same per unit as a hundred. This makes DTF ideal for samples, team orders, and personalized gifts.
- Dark and colored garments: Unlike DTG, which often needs a white underbase that can look chalky on dark fabric, DTF prints white ink directly and lays it down cleanly on black, navy, or maroon.
- Non-cotton fabrics: Polyester, blends, canvas, and even some nylon goods accept DTF well, which is not true for every decoration method.
The tradeoff is feel. A DTF print has a slight film-like hand compared to the softest screen print or a well-executed DTG on a light shirt. On large solid blocks of ink, that texture is more noticeable. On detailed artwork with lots of open space, most customers never mention it.
The Pressing Steps That Decide Your Result
You can buy excellent transfers and still ruin them at the heat press. Here is the sequence that consistently produces durable results.
1. Pre-Press the Garment
Moisture is the enemy of adhesion. Press the shirt for three to five seconds before placing the transfer. This removes wrinkles and drives off residual moisture from storage or humidity. Skip this and you may see steam bubbles trapped under the film.
2. Set Temperature, Pressure, and Time
Most DTF films press in the 300 to 325 degrees Fahrenheit range for 10 to 15 seconds with medium to firm pressure. Your film supplier's spec sheet wins over generic advice. Pressure matters as much as temperature: too light and the adhesive never fully flows into the fabric, too heavy and the ink can spread or the film can distort.
3. Peel Cold or Hot, According to the Film
Some films are cold peel, some are hot peel, and confusing the two is a common cause of cracked prints. Cold peel means you wait until the sheet is fully cool before removing the carrier film. Pulling too early stretches the design. Hot peel means you remove the film immediately after pressing. Check the label every time, because mixing up a batch is easy when you have several film types on the shelf.
4. Post-Press for Wash Durability
A second press of five to ten seconds over a cover sheet or parchment paper re-melts the adhesive and presses the print into the weave. This single step measurably improves wash durability and is the difference between a print that lasts a season and one that lasts years.
Common Mistakes That Ruin DTF Prints
These show up again and again in shops that are new to the method.
- Pressing on a cold platen. A cold lower platen pulls heat out of the transfer before the adhesive activates. Let the press come to temperature fully.
- Stretching the garment while hot. Moving or folding a shirt immediately after pressing stresses the still-soft adhesive. Let it cool flat.
- Washing too soon. Wait at least 24 hours before the first wash so the adhesive fully sets.
- Using fabric softener. Softener coats fibers and breaks down the bond over time. Turn shirts inside out and wash cold.
- Storing transfers in humid areas. Film absorbs moisture. Keep sheets sealed and dry until you are ready to press.
Choosing Between DTF and Other Methods
If you are decorating a hundred cotton tees with a two-color logo, screen printing will be cheaper per unit and softer to the touch. If you are printing full-color photos on twenty performance polos, DTF transfers are almost certainly the right call. The decision usually comes down to three questions: how many colors, how many pieces, and what fabric.
Many shops now run both. They keep a screen press for high-volume single-color work and a DTF setup for everything detailed, small, or experimental. That combination covers nearly every order that walks through the door without turning away jobs that do not fit one method.
Frequently Asked Questions
How long do DTF transfers last on a shirt?
With correct pressing and proper washing, a quality DTF print typically lasts the life of the garment. Cold water, inside-out washing, and no fabric softener are the three habits that make the biggest difference. Poor adhesion, not ink fade, is the usual reason a print fails early.
Can you layer DTF transfers on top of each other?
Yes, but press the first transfer, let it cool, then apply the second. Pressing wet ink over a fresh print can smear or distort the layer underneath. Keep layered designs thin where possible, because stacked adhesive layers feel stiffer.
Do DTF transfers work on 100 percent polyester?
They do, and this is one of their biggest advantages. Polyester can bleed dye into some print types when heated, but a properly cured DTF transfer with a good white layer blocks most of that migration. Lower your press temperature slightly for thin polyester to avoid scorching.
What is the difference between DTF and DTG printing?
DTG prints directly onto the garment and works best on cotton. DTF prints onto film first and is then heat pressed, which lets it work across more fabrics and gives more consistent results on dark colors. DTF also lets you print ahead and store transfers, while DTG is a print-on-demand process.
Can I iron a DTF transfer on at home?
You can, but results vary. A household iron cannot deliver even pressure across a large design, so edges often lift. For small designs on flat areas, a firm iron with no steam and a hard surface underneath can work. For anything larger than a few inches, a heat press gives far more reliable adhesion.